Showing posts with label task cards. Show all posts

Tuesday, March 14, 2023

Differentiating with Task Cards in the Classroom


Differentiating instruction is a key factor for success in any classroom 🙌 and task cards are a great way to help you do just that. Task cards can be used to differentiate instruction by providing students with different levels of difficulty 🎚️, allowing them to work at their own pace and giving them the opportunity to explore 🔍 topics more deeply. Let’s take a look at how task cards can help teachers differentiate instruction in the classroom.


Task Card Benefits

Task cards are versatile tools which provide many benefits for both teachers and students alike. They can be used to present new material or review old material ✍️; as individual assignments or group activities; as practice or assessment; and for any subject area 📒 or grade level. Furthermore, task cards allow for differentiated learning without taking away from valuable instruction time ; they also provide a hands-on approach to learning that is engaging and motivating for students of all ages. 


Differentiation Strategies

Differentiation with task cards can be done in several different ways. For example, you can assign different tasks to different students based on ability level, interest level, or prior knowledge 🧠. You can also assign tasks that focus on different aspects of the same unit such as comprehension (reading) tasks, application (writing) tasks, analysis (thinking) tasks, and creation (producing) tasks. Finally, you can create tasks with varying degrees of difficulty so that each student has an appropriate challenge level regardless of skill set or learning style.


Use different colors for task cards

Select the top 10 most vital task cards in the set and print them on different colored paper, blue for example. Then, for your students who need remediation or require accommodations, have them complete the blue task cards first, then they can complete any other task cards after that. This gives you the chance to have the students answer the most important questions first and allows the students to not be so overwhelmed by the activity. It also allows the students to feel successful 🏅 in your class knowing they got through the 10 blue task cards and not being reprimanded for an incomplete assignment.
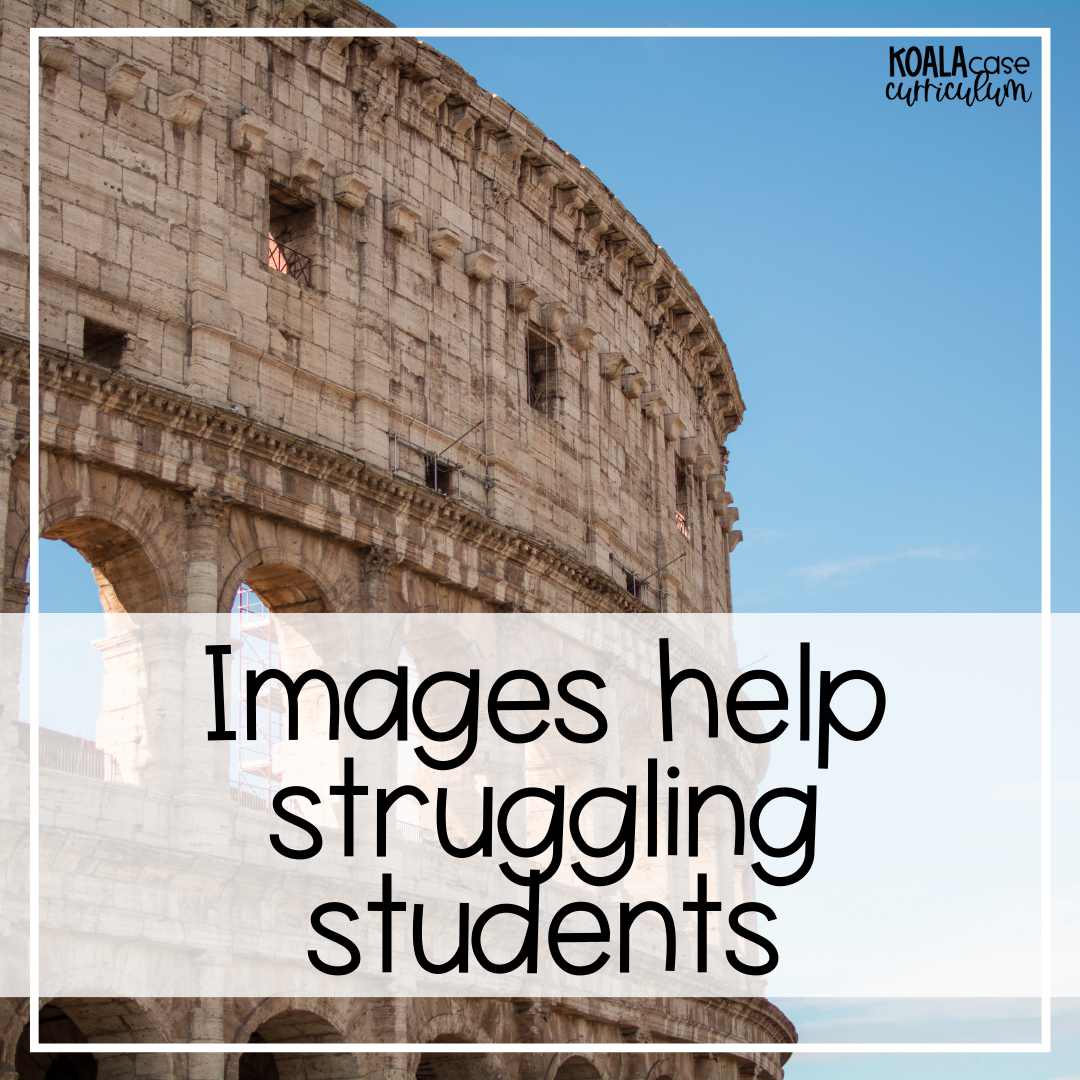


Add clipart or photos

If you want to get really creative, you can add clipart or photos 🖼️ to your task cards. This can help students better understand the concept you are teaching. Visuals are a great way to engage all learners, and incorporating pictures or diagrams 📊 on your task cards can be of great help for students who require more visual cues. Adding visuals to the task cards allows those students to gain a better understanding of the material, as they will be able to see the task more clearly and can be able to visualize the concepts. This works perfect for English Language Learners or struggling students. 


Stations

Tap into the power of task cards to give your students more freedom! Differentiate instruction by setting up stations with two per station 📋: one card offering multiple choice questions, and another that features open-ended or short response questions. You can customize this learning experience even further - challenge them to answer at least two short responses ✏️ so they feel comfortable tackling material in their preferred style.


Differentiating instruction doesn't have to be complicated—task cards offer an easy way for teachers to provide meaningful opportunities for all learners while still allowing them autonomy over their own learning process. 

By following these tips on creating effective task cards and keeping in mind the importance of clarity, creativity, and relevance when designing activities for your students, you'll be able to create an engaging classroom environment tailored specifically towards their needs! With task cards in hand—and some careful thought put into how best utilize them—you're sure to see differentiated instruction done right! 

Looking to save time? Check out my line of US History Task Cards from Exploration and Colonization through Reconstruction!


Tori at Koala Case Curriculum

Want some freebies? Join my email list for exclusive social studies freebies and to to be notified of all the interactive lessons coming up! 

Saturday, August 7, 2021

Teach The 13 Colonies Like A Champ With The Help Of These Tips


A chalkboard, globe, pencils, and an apple


The founding of the 13 colonies did not happen overnight. Additionally, it was not a smooth process 💣💥 There is just so much to teach middle school students about how America was actually developed. Additionally, this essential content occurs at a time in students' lives where their minds 🧠 and bodies are rapidly changing. Due to this, it is so important to incorporate their own interests, such as technology, when talking about content that occurred long ago. By following these 3 tips below, teaching about the 13 colonies will be interesting, rigorous, and thorough! 🙌


Explain the Founding of the 13 Colonies

The majority of middle school students 👦👧will not really know how America was formed. Additionally, many students may think all 50 states formed at once. Therefore, one of the joys of junior high 🏫 is teaching students how the world did not instantly develop. There were trials, tribulations, and a lot of compromises 🤝.


When teaching about the 13 colonies, it is important to start back at how they were founded 📓. One way to do this is to provide a quick overview. Middle school students do not have a long attention span. Therefore, this short video 🎥 on The Founding of the 13 Colonies is the perfect one to show. While it is short, it is powerful! It includes an incredible overview on how the colonies came about with strong visual aids.


Lay a Foundation at the Start of the Year

One of the goals of history 🌎 is to learn about the past and avoid making the same mistakes. Additionally, many concepts build upon each other 👷. Therefore, in order to learn about the individual colonies, a solid foundation should be taught from the beginning of the year. Students are going to consistently come back to the 13 colonies, so it is important they have a strong understanding 💯.


The 13 Colonies Drag and Drop resource is perfect 👍 to incorporate in lessons in order to ensure students truly know detailed information 🔍. This resource is best done after students have a general overview of the founding and the names of the colonies. This is due to how much information is packed into this digital resource 💁. Students will love 💖 the interactive component of drag and drop 💻 while learning 15 different aspects of the colonies! For example, students will learn about the reasons for founding, cash crops 💰🍞, and influential people. Students will love getting to have an in-depth exploration of the 13 colonies with an interactive resource!

a picture of parchment paper that a charter could be written on


Interactive Activities

Whenever students are engaged, they learn the information better 🧠. Ultimately, they are more focused 👀 on what is being taught versus daydreaming or doodling. Therefore, make activities interactive! For instance, in the resource above, students could have listened 👂 to a lecture about that information. However, the truth is that many middle school students would have been bored and ignored 😒😩 what was said. Hence, the drag and drop element is a great way to keep students focused and interested in the lesson!


Additionally, the Jamestown Online Adventure is a great way to challenge students. Here, they create their own colony 🏘 with the help of the London Company’s instructions. They can even ask other colonists and Native Americans for advice. By the end, students will see how hard it was to establish the colonies 😵 and common mistakes that were made.


students gathered around a computer working on an engaging activity together

Lastly, if activities are interactive, there is no worry about having to quickly change plans. If classes have to go virtual 💻, everything will be ready. Additionally, if students need to socially distance themselves 👦🠈🠊👧, they can each complete their own activities while still having fun in the classroom!


There is so much information to include when teaching about the 13 colonies. Between why the colonies were needed to the ups 👆 and downs 👇 that were constantly occurring, students can become confused 😕. However, by following the 3 tips above ✅, students will be excited to learn and they will be focused, engaged, and eager for the next lesson.


Want some freebies? Join my email list for exclusive social studies freebies and to to be notified of all the interactive lessons coming up! 

Tuesday, September 1, 2020

How to use Task Cards in Your Classroom


Everyone mentions task cards and you see them ALL. THE. TIME. If you haven't jumped on the task card bandwagon, you should because they are awesome! Why? Because they are a review for the students that can go over a broad or specific topic. I love them because answer sheets and questions are already included so they can be taken for a daily grade. 


1. White board review  I absolutely LOVE using this throughout the day or the week. Even better, task cards are great to use with white boards. Students write their answer on the white board, then show it to the teacher at the same time. It gives you instant data on how many students know the answer and what they might still be missing. Check out my blog post on how to use whiteboards in your class!

ex:

(teacher) What are the 3 causes of the Civil War?

(students write the answer on the white board and show it to the teacher on the count of three)

as a teacher, I notice that the students know that two of the causes are slavery and states’ rights, but many of them are forgetting about sectionalism. I know that I need to review that more in depth with them

2. Stations there are two main ways to use task cards for stations. 
  • (one topic) put 3-5 task cards at each station and have students rotate throughout the stations in order to break up the monotony of doing all the task cards at once. It also helps students not feel overwhelmed having to complete all of them
  •  (2+ topics) separate the task cards by topic and set up the stations according to that topic.

ex: when reviewing science, you could put 3 space questions at a station and add images/paraphernalia from NASA. Another station on earthquakes could have pictures of the San Andreas fault in California or a video of the aftermath in Japan.

3. Quiz Quiz Trade With this activity, students are given one task card and must look up the answer before them begin. Students then go around the room and quiz another student and trade task cards when done. 

This is great for lower students because it makes them the “expert” with that task card. Students get to re-teach another student and helps students take ownership of the question/topic. You can also add an answer sheet for accountability. Great for the on-task class!


4. Scoot!  a more organized form of review. Each student has one task card. Each student also has an answer sheet. Everyone completes their own task card and write the answer down. After an allotted time (usually 1 minute), students pass the task card to the next person in their row. This is a great way to use task cards for the talkative classes or the classes with more behavior issues because everyone get the same amount of time, and there is less getting up/moving around. try to make it in a circle so the last student doesn’t have to run across the class to hand off the task card to the next person.

Check out the video below for an alternate way to play Scoot!


5. Back to Back  This is activity is a fan favorite because it gives students interaction. It's a  mix of scoot and QQT. Have students partner up and give them their answer sheet on a clip board. If you have a subject like math or science, add an extra piece of scratch paper to do any calculations on. Then, the students stand back to back, but where they can both see the screen at the same time. 

When you display the task card on the screen, the students have 30 seconds- 1 minutes to write their answer down on their answer sheet. when time is up, they turn and face their partner. then, they compare answers with their partners. This is great because it gives them a chance to work the problem out on their own before they discuss with their partner. It is also an easy way to collaborate and re-teach if needed. 

Bonus remediation (small group or one-on-one). after school tutorials, pick out 3 cards. the student picks 2 that they answer. continue until they have gone through all the cards. then, at the end, take the cards they didn’t answer and work with them on each task card one by one. this helps students filter out the material they know so you can pinpoint where they need help.


teacher using task cards with students


Summarizing Like a Boss: Five Strategies to Up Your Game

  Attention teachers! Do you find yourself receiving long-winded paragraph answers from your students that seem to go nowhere? Does it seem ...